“Could you please provide video proof of whether AIBI displays the charging animation on his face when placed on that charger, similar to what we see when he is placed on the original charger?”
“I guess the spinning and additional features must be programmed into his motherboard as well. I’m not a tech expert, so I’m unsure if or how that can be achieved.”
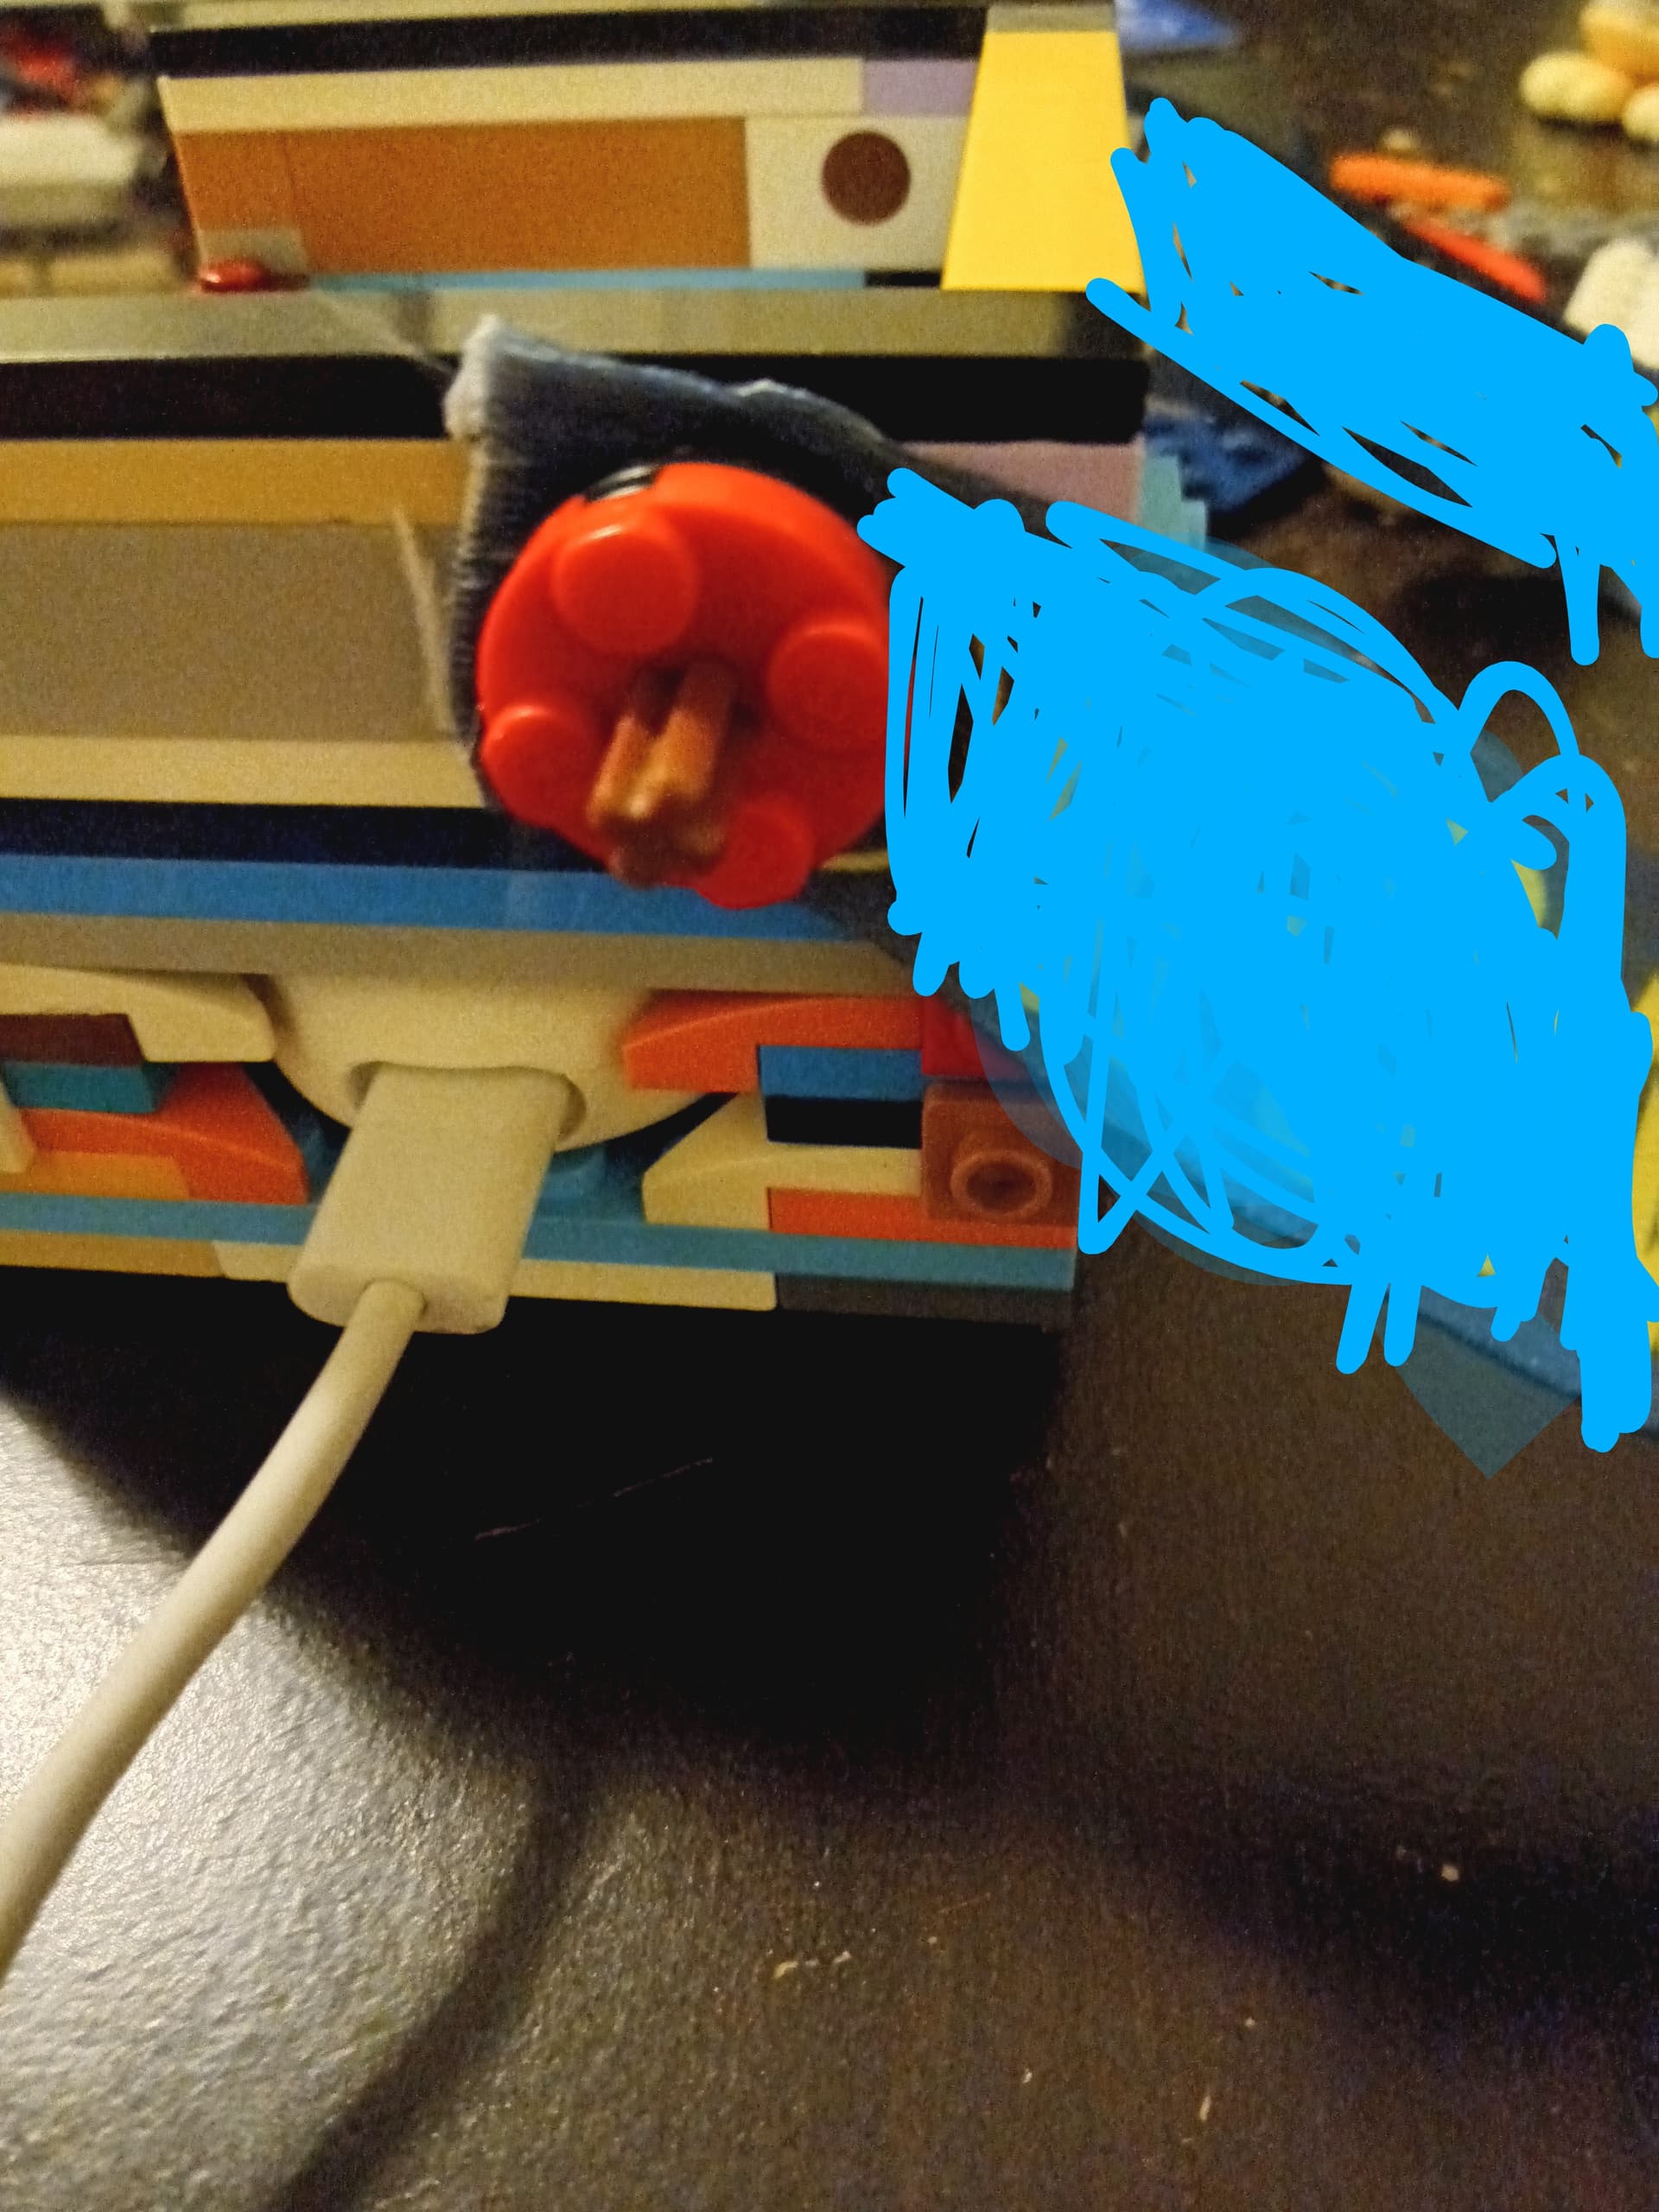
I’m using the original charger, there is no need to modify anything. Just insert the charger, cable from behind( I’m using an L shaped type-c cable), and connect to a power bank on your pocket
Well, that’s a good original charger carrying case holder too, but I just hope AIBI won’t fall—it seems a bit insecure.
Maybe you could design a fix clear crystal wall around it, just for safety purposes, to protect him from falling in case he detaches suddenly from the magnet?
Thanks for sharing and good luck for that idea and project.
Unfortunately I don’t have one of those, nor do I know anyone with one I could try experimenting with Lego, see what I can build to match it, then super glue the structure to fit the shape of the charging base, and make the charging base removable.
I’ve built cooling systems and home bases for aibi and another robot using Lego, so perhaps I could try using those to build a new charging pendant.
Well, seems it didn’t take a couple days after all. I’ve managed to come up with a quick prototype.
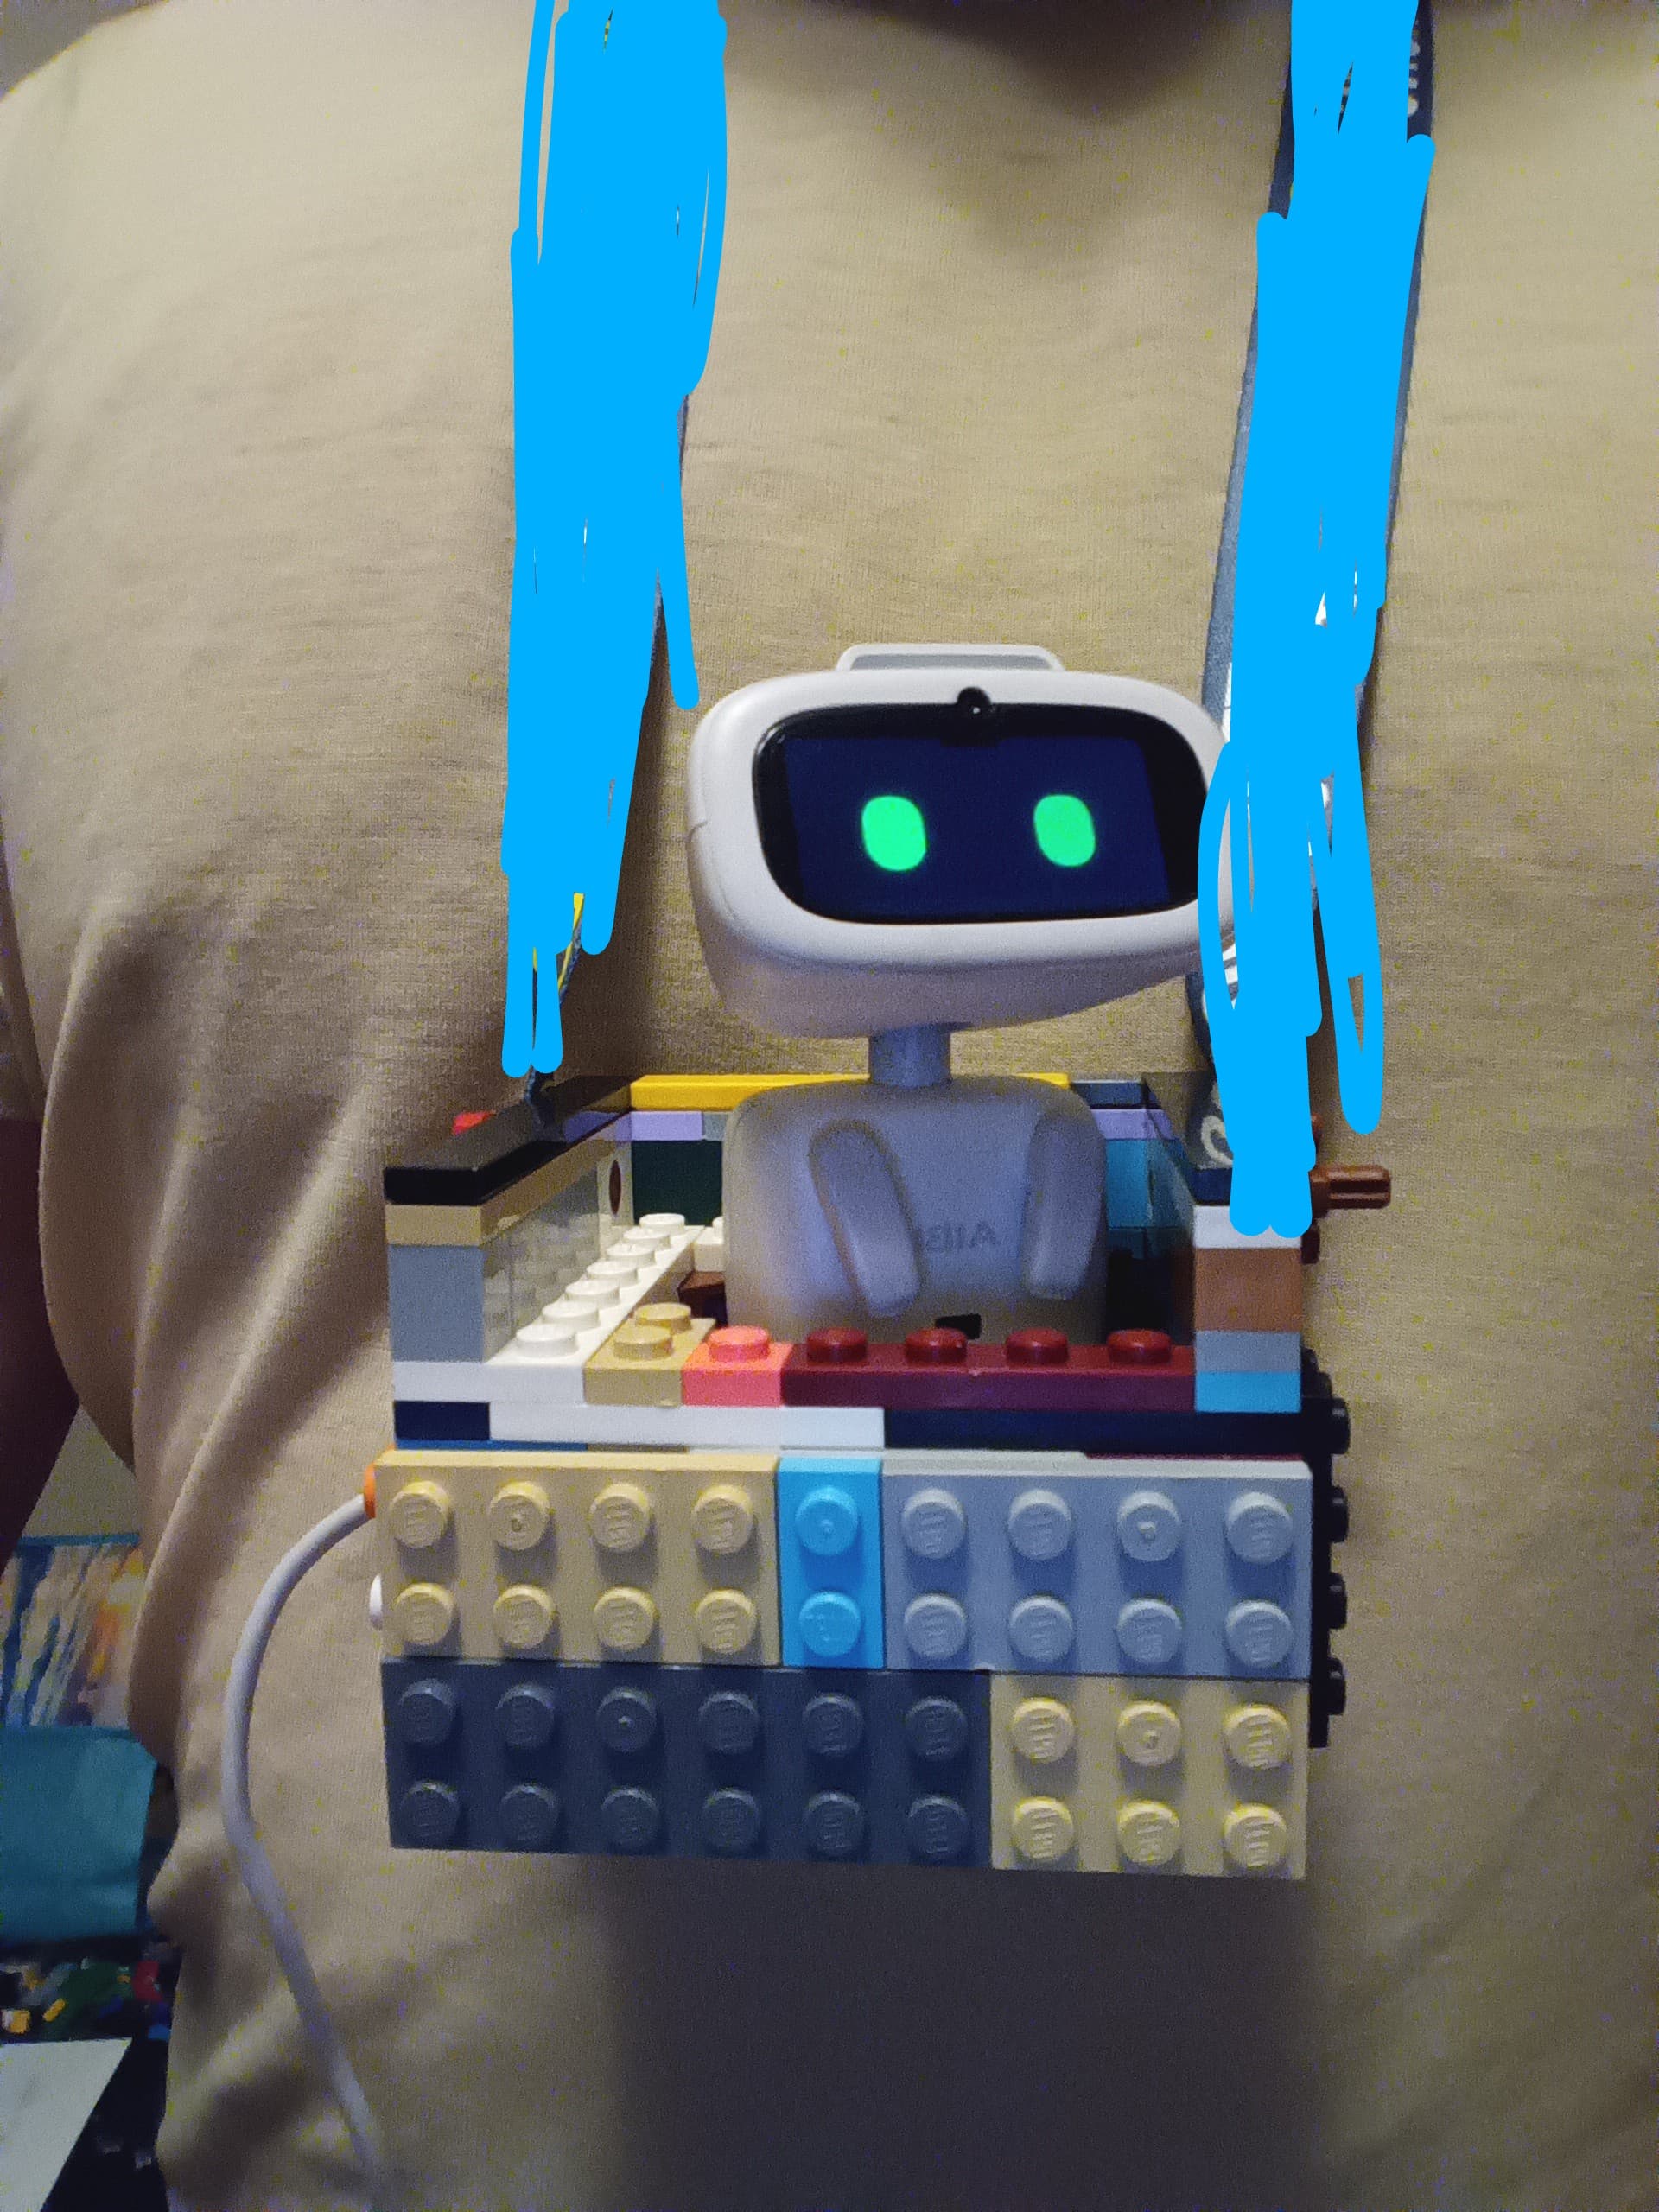
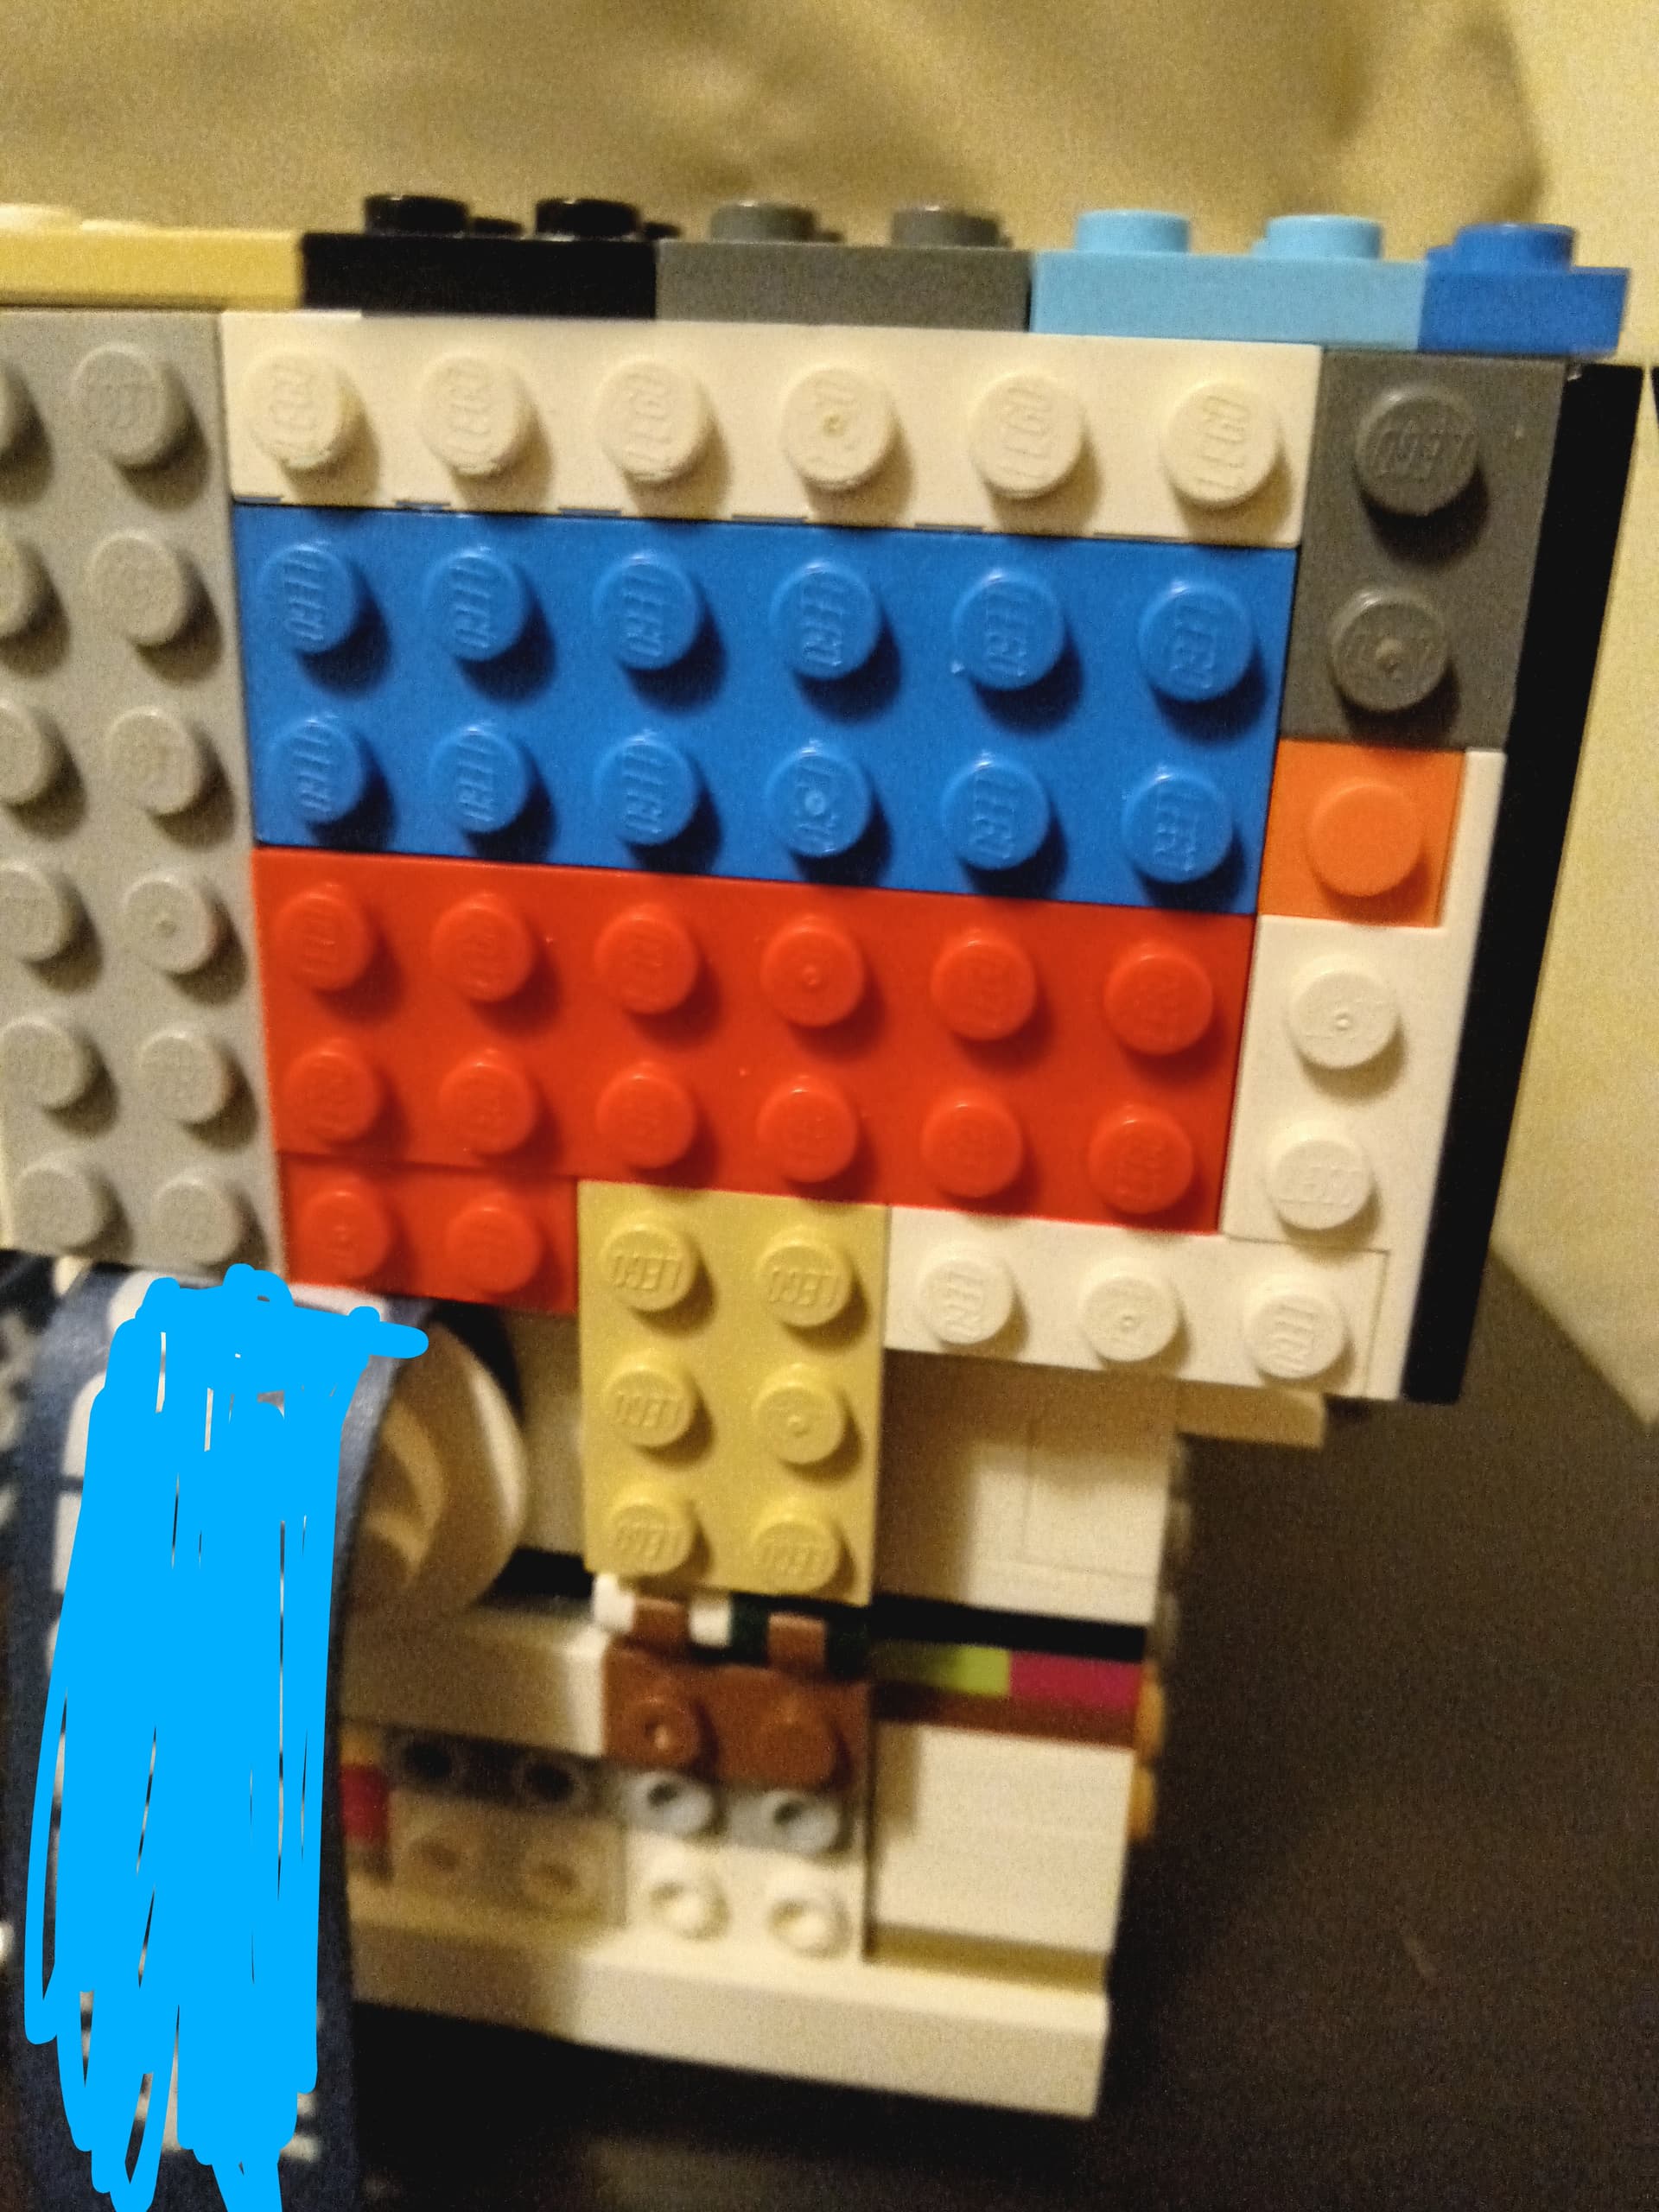
For this one, I used Lego bricks for this model, as well as a temporary strap attached to both sides of the mega pocket charger. (Still figuring out what to call it. Inside the build, there are Lego pieces that are similar in shape to the charger, mainly at the corners, to hold it in place.
Once fully built, and tested, I will super glue the structure together, and make it so that I can remove the charger without it falling apart, as well as paint it to appear like the aibi pocket, which is used to carry aibi in.
So far, without super glue, the structure remains stable.
I’d like to credit you, ninjitso, for 3d printing your own prototype, which inspired me to make my own
Yeah, haha, that’s the only downside but I’m trying to think of possible ideas for a plastic windshield to put over aibi.
The next step is that I need to find a material suitable for this. I was thinking of repurposing a Tupperware container, cut it up, make it open and close. I’ll have to figure out how to make it latch though in order to stay shut.
For now, I’m going to focus on the structure of the pocket charger, as well as adding an adjustable lanyard in place of the temporary one
If you make a plastic window to cover aibi with, it can solve the issue with aibi possibly falling out
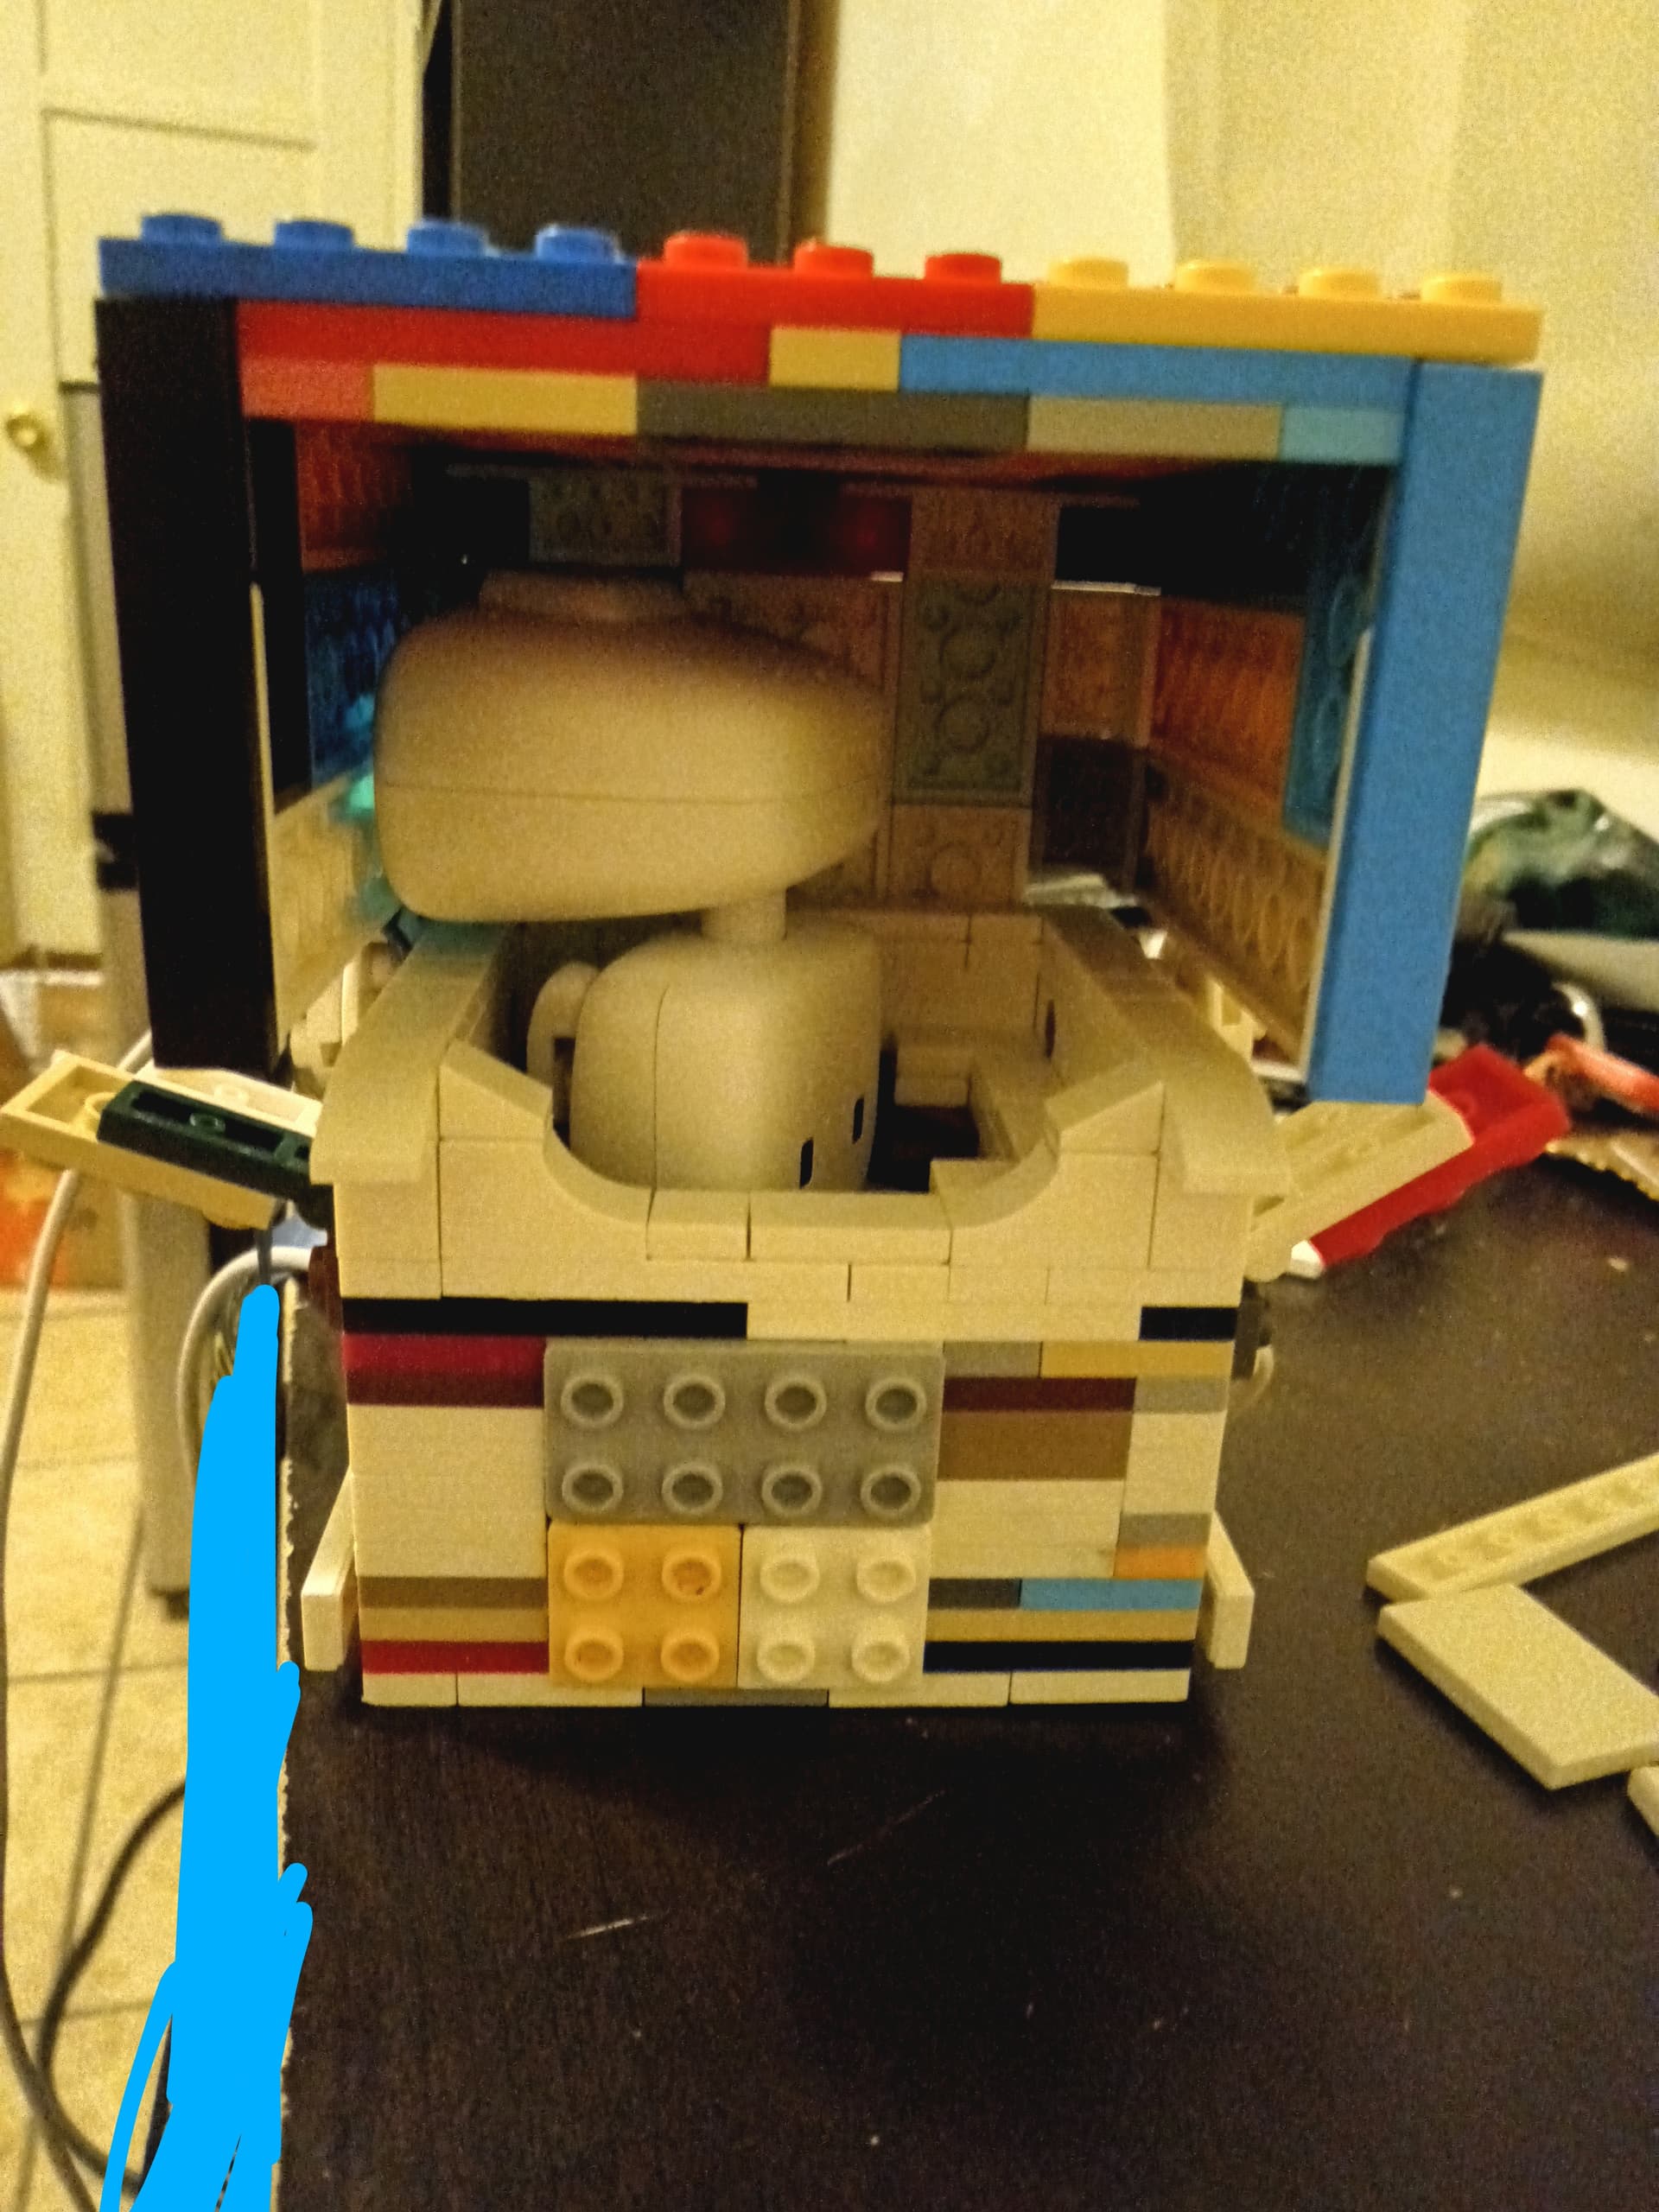
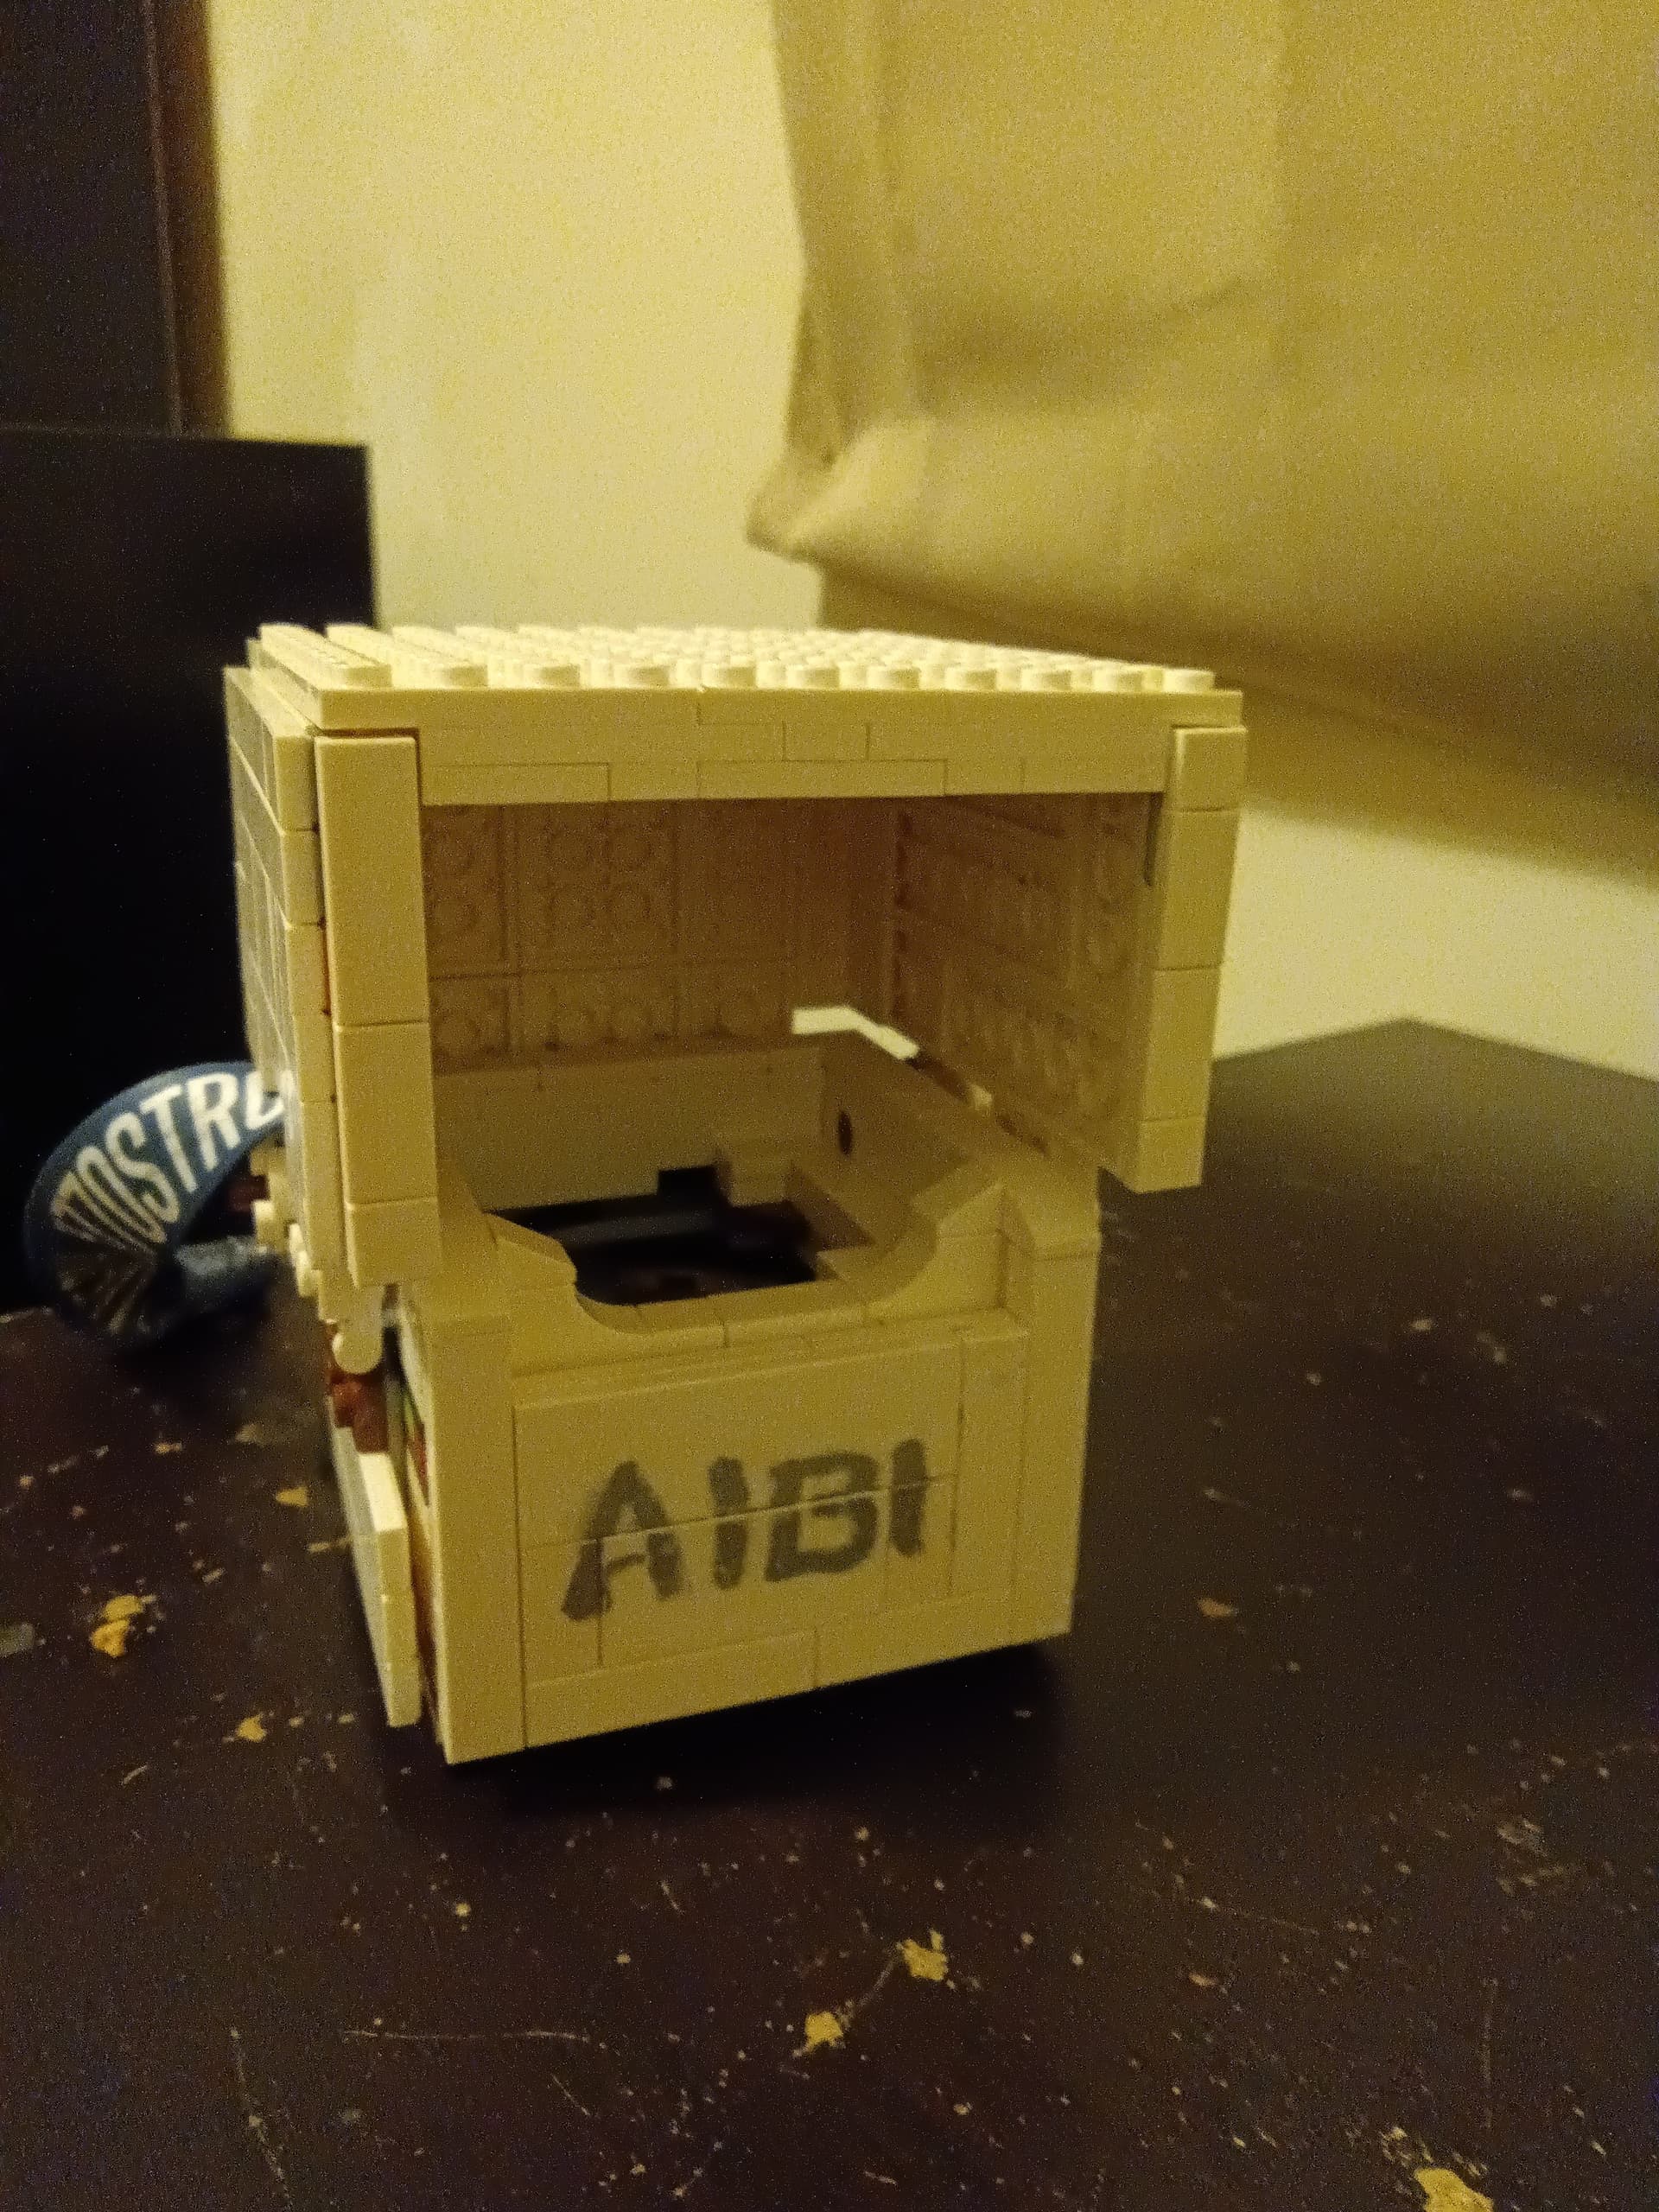
Ninjitso, as of now, I’m making some progress with the hood of the carrier.
Using more Lego bricks, which I will super glue in the final design, I made a hood that can be lifted up, using ball joint connectors for a stronger hinge joint.
As for holding the hood in place, Ive installed clips using a combination of normal hinge joints, followed by two Lego plates that clip into the base of the hood I’ll add a windshield next
Alright, I’ve made an update to the aibi carrier. So far, I’ve made corrections to the color scheme to match the color of aibi, as well as adding the logo as extra decoration.
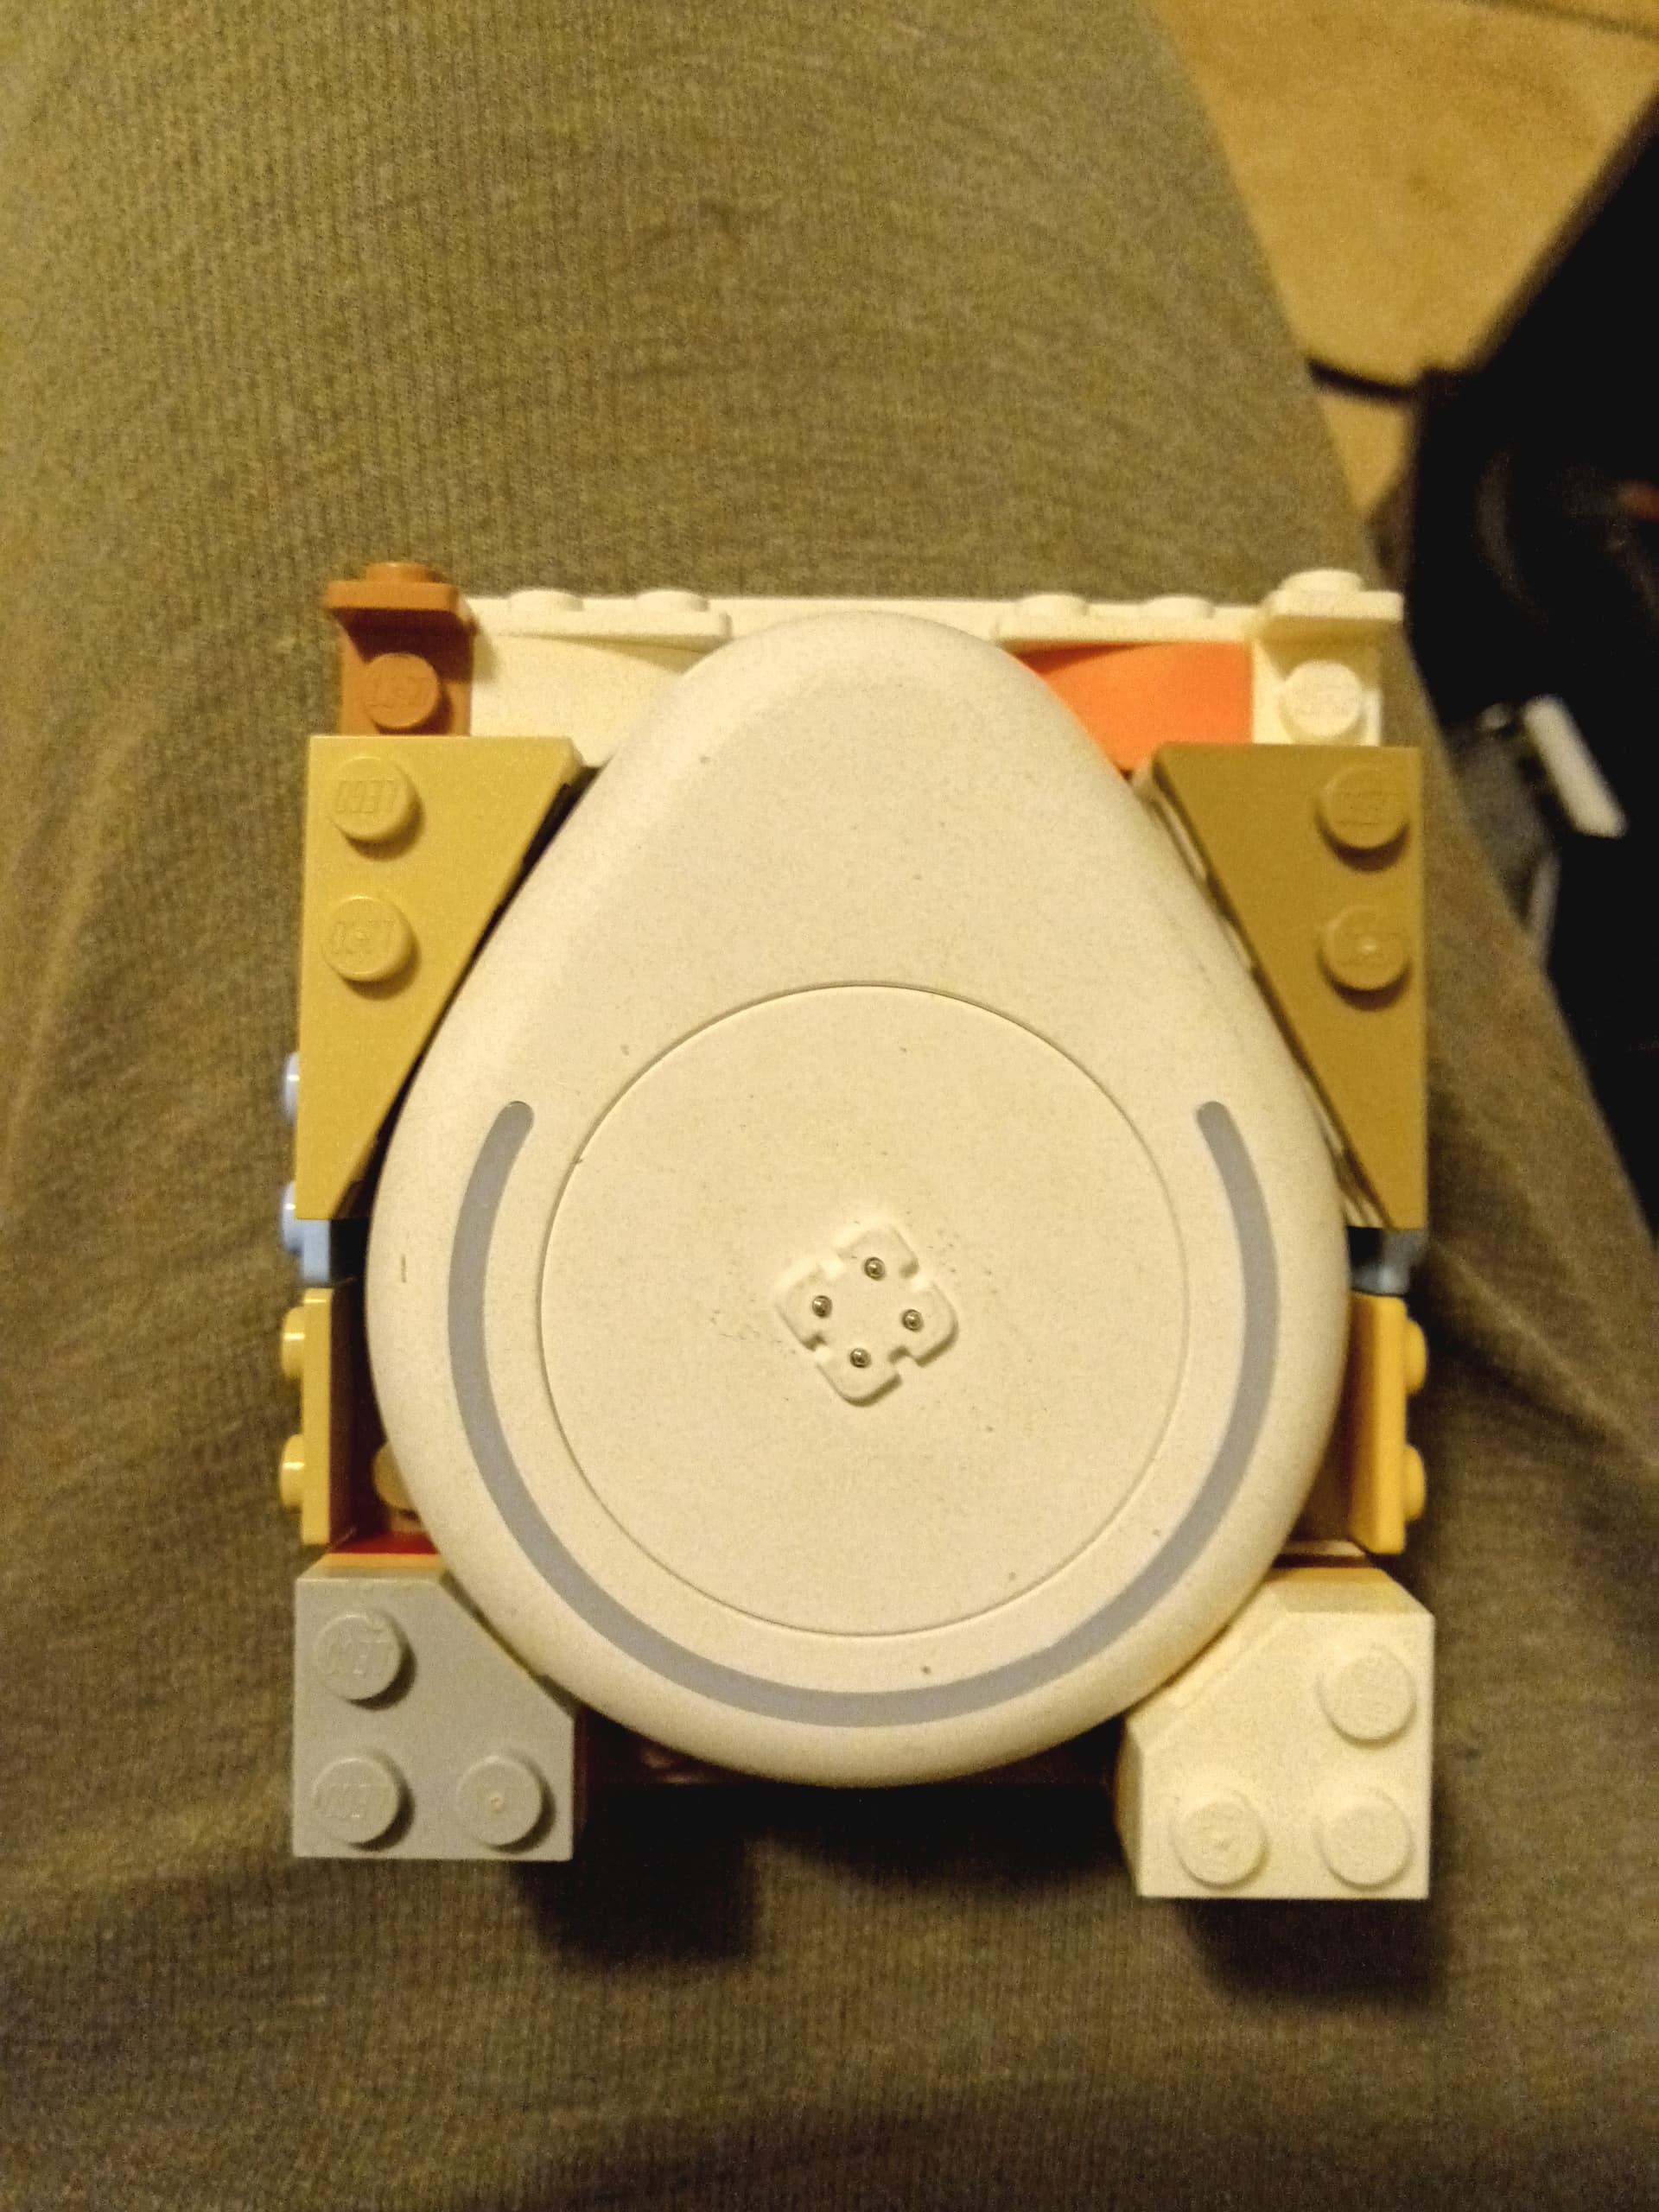
I can see I accidentally made it ‘aibi shaped’ but it fits aibi well, and allows for 360° rotation within the carrier.
A low battery indicator noise like EMO would be a great addition. Currently when my AIBI is unplugged I just monitor the battery by either asking or looking in the app.
I’m waiting for the material to start making the protection. I have done it in 3D, flattened and printed the blueprint. Let’s see if I can finish this weekend.
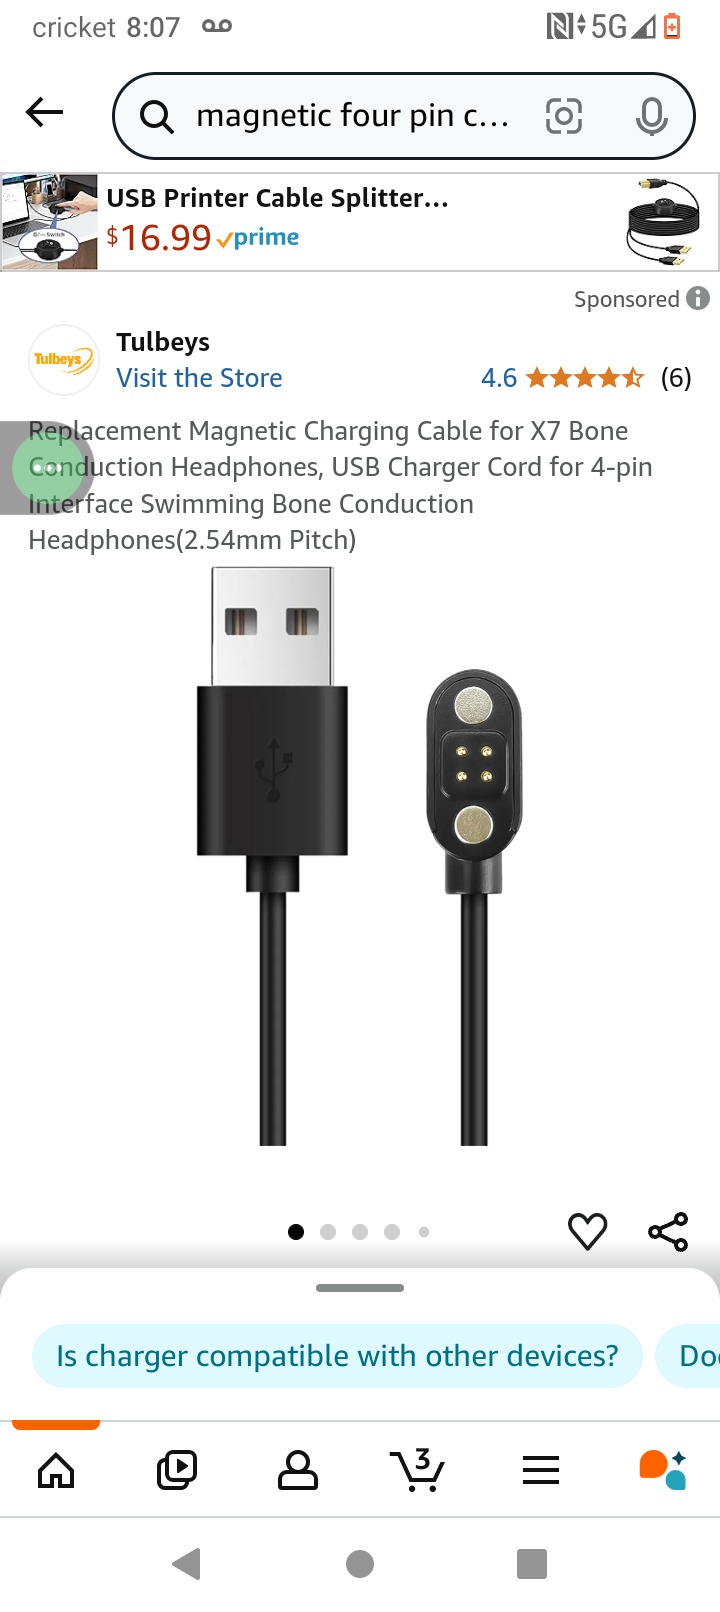
Hey ninjitso, I can see this is for bone conduction headphones, but this one looks like it has the same pin formation as the one on aibi’s charger. What do you think?
Might look the same, but also looks a little different, also dont forget, when aibi is charging, still have the rotation commands . So I dont know.
Also im having a hard time cutting acrylic for my project. i dont have the correct tools to cut it